 Store Screenshots
What everything does
What each button, tab and handle in the editor does, and when you would use it.
The editor has four parts: the bar along the top, your slides on the left, the picture in the middle, and the settings on the right. Here is what each one does.
The sizes at the top

Each pill is one size your project makes. They sit in the middle of the bar at the top. Click one to see your work at that size: the picture changes, your project does not.
The + button lists every size you could add: phone and tablet sizes for each store, and wide pictures like the feature graphic. Tick one to add it, untick to drop it.
The language button
The globe button, left of the sizes, picks the language you are editing. Your first language is the one you write in. The others show your words until you replace them.
Pictures are made in every language you add, so one project covers every listing.
Slide and All slides
This pair sits to the right of the sizes. Slide shows one picture, large, to work on. All slides shows the whole set together, the way a shopper scrolls through them. Use it to check your set reads well in order.
Download one picture
Download PNG, next to the Export button, saves the one picture you are looking at, at the size you are looking at. Handy for a quick check. Use Export when you are ready to upload everything.
The slides list
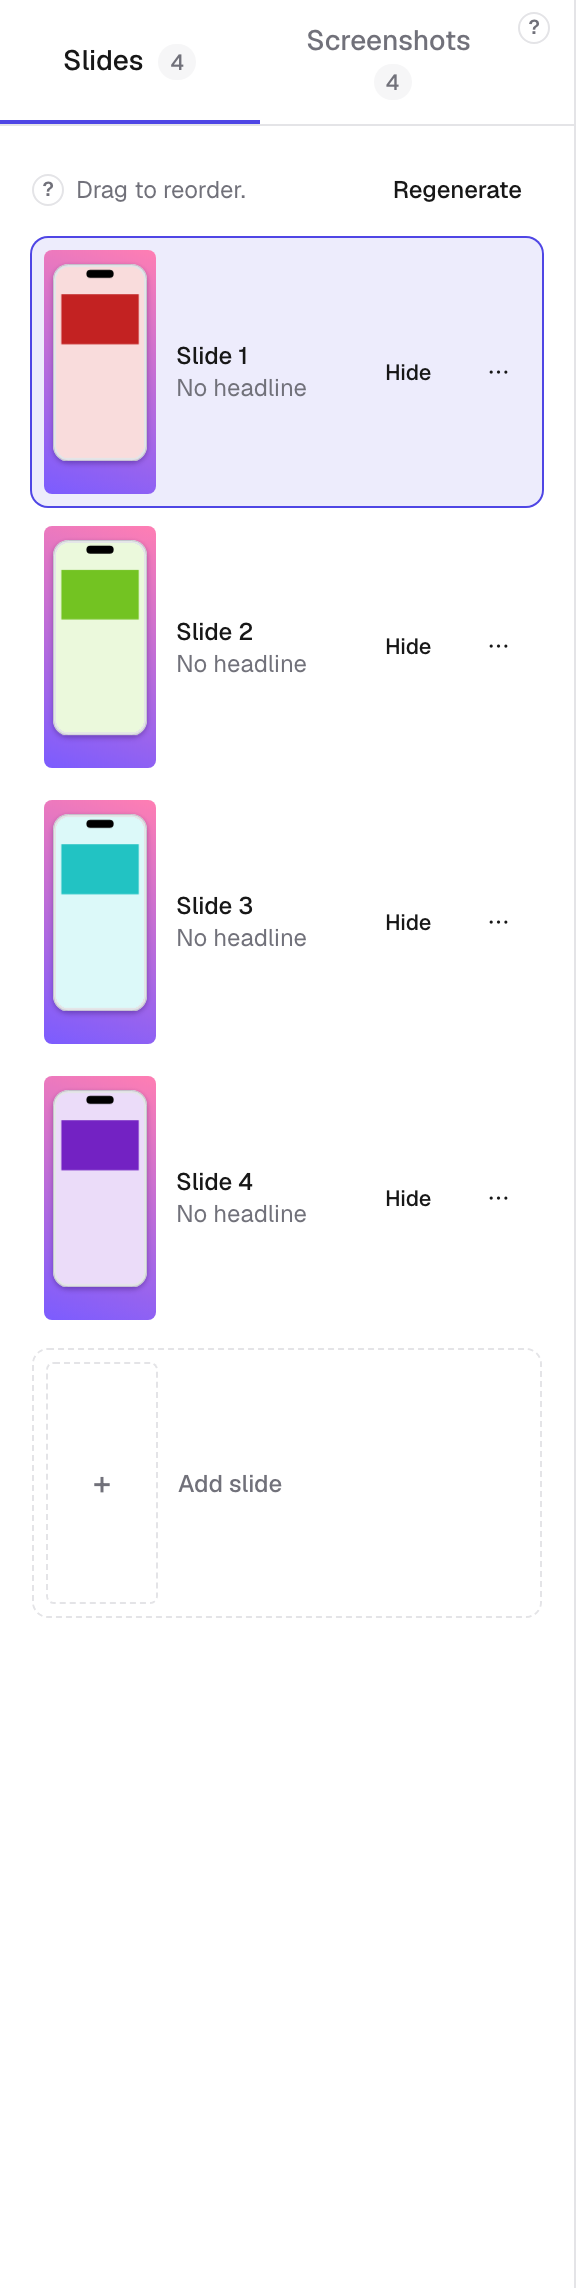
The Slides tab on the left lists every picture your project will make, in the order stores show them. Drag a slide to move it. Click one to work on it.
Hide keeps a slide but leaves it out of the export. Use it when you have more slides than a store takes.
Your screenshots
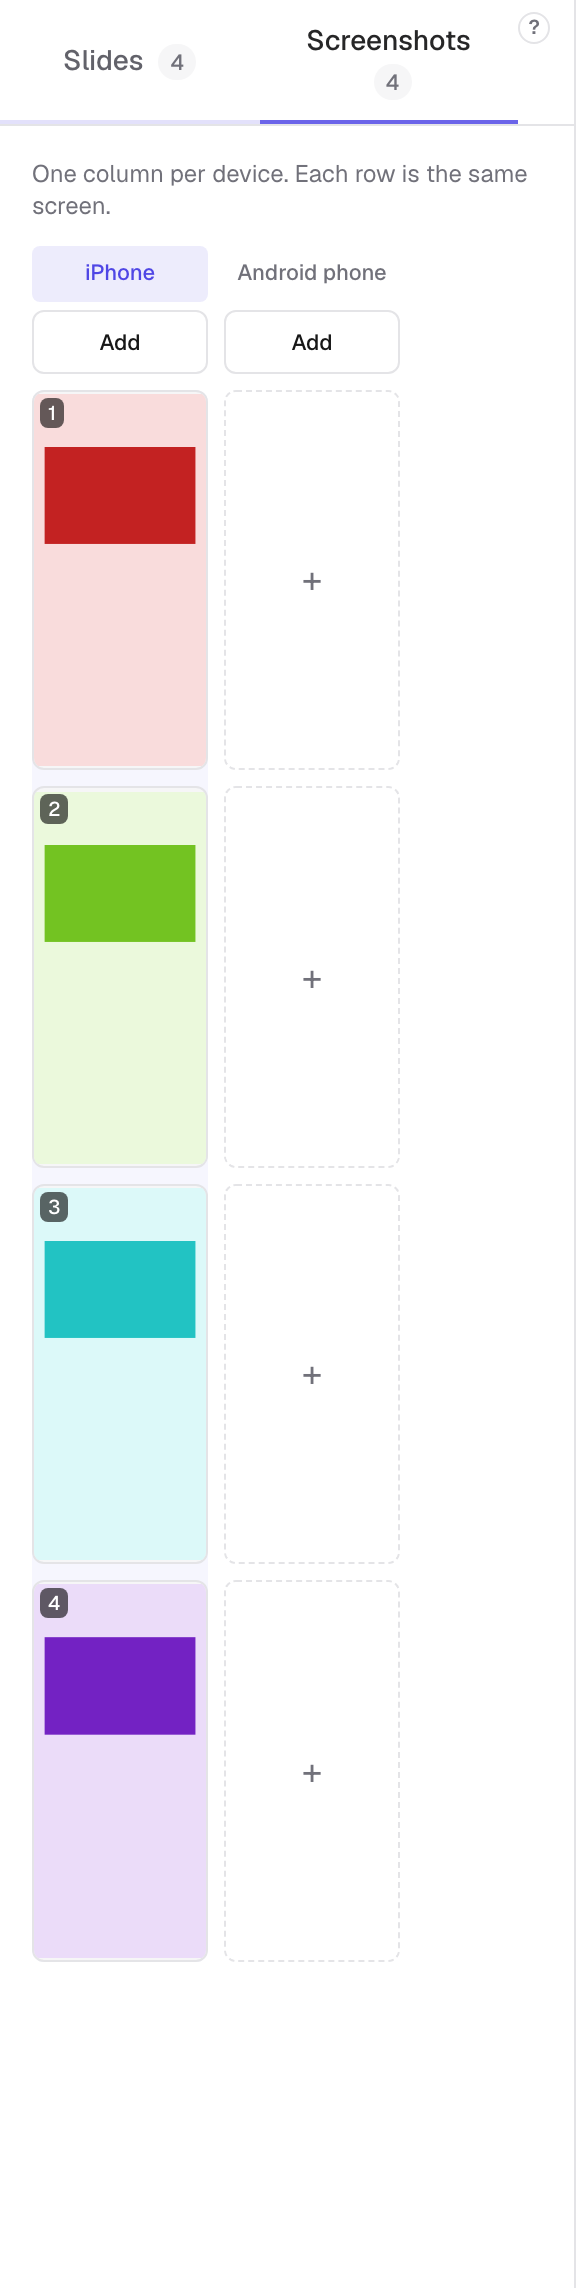
The Screenshots tab, beside Slides, holds every screen you have added. A slide points at these, so the same screen can be used on more than one slide.
If you sell on both stores, a screen can hold one picture per device: an iPhone one, an Android one, and so on. Sizes then show the right one. Where one is missing, the closest is used and the app tells you.
Moving the phone by hand
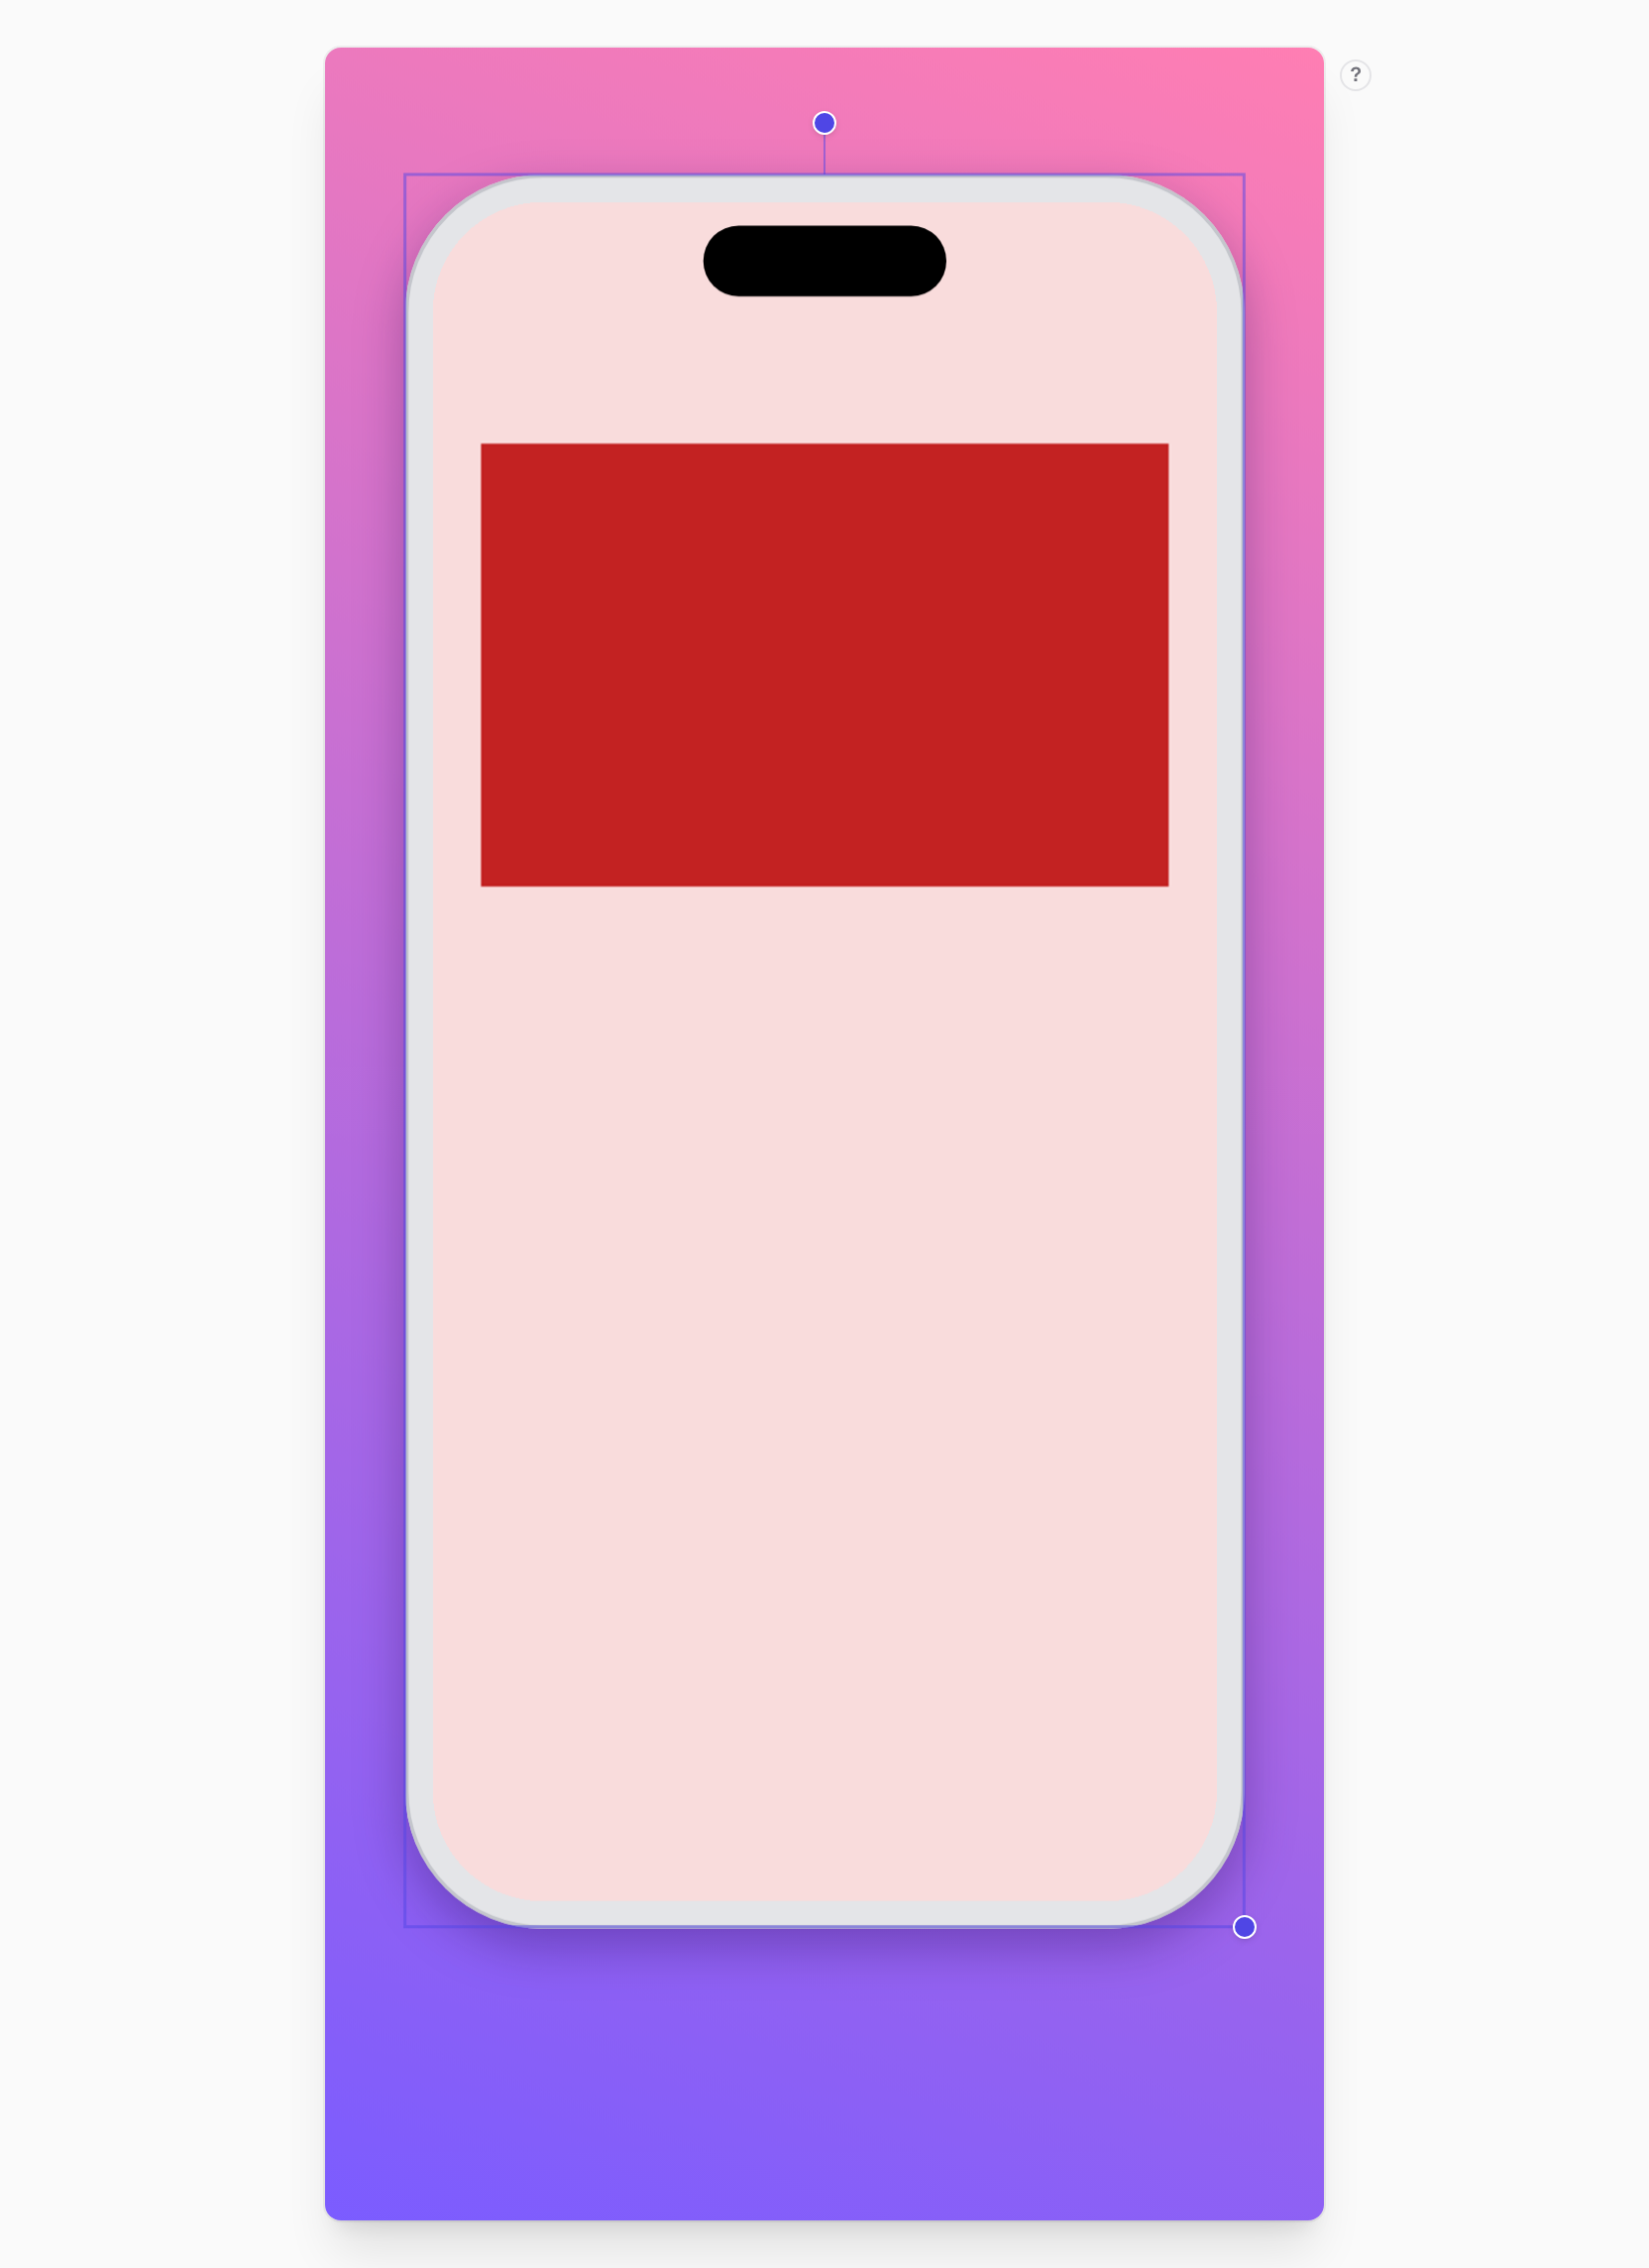
The phone on the picture has handles. Each one changes a setting you could also set with a slider.
- Drag the phone itself to move it.
- Drag the corner dot to make it bigger or smaller.
- The dot above it turns the phone on the page.
- The tall dot on the side swings it away from you.
- The wide dot below it tips it back.
Hold your pointer over a handle and it tells you what it does.
Typing on the picture
Click the headline or the line under it and type. Press Enter to finish, Escape to undo your typing. Where a slide has no words yet, the spot still appears when you move your pointer over it.
The three tabs
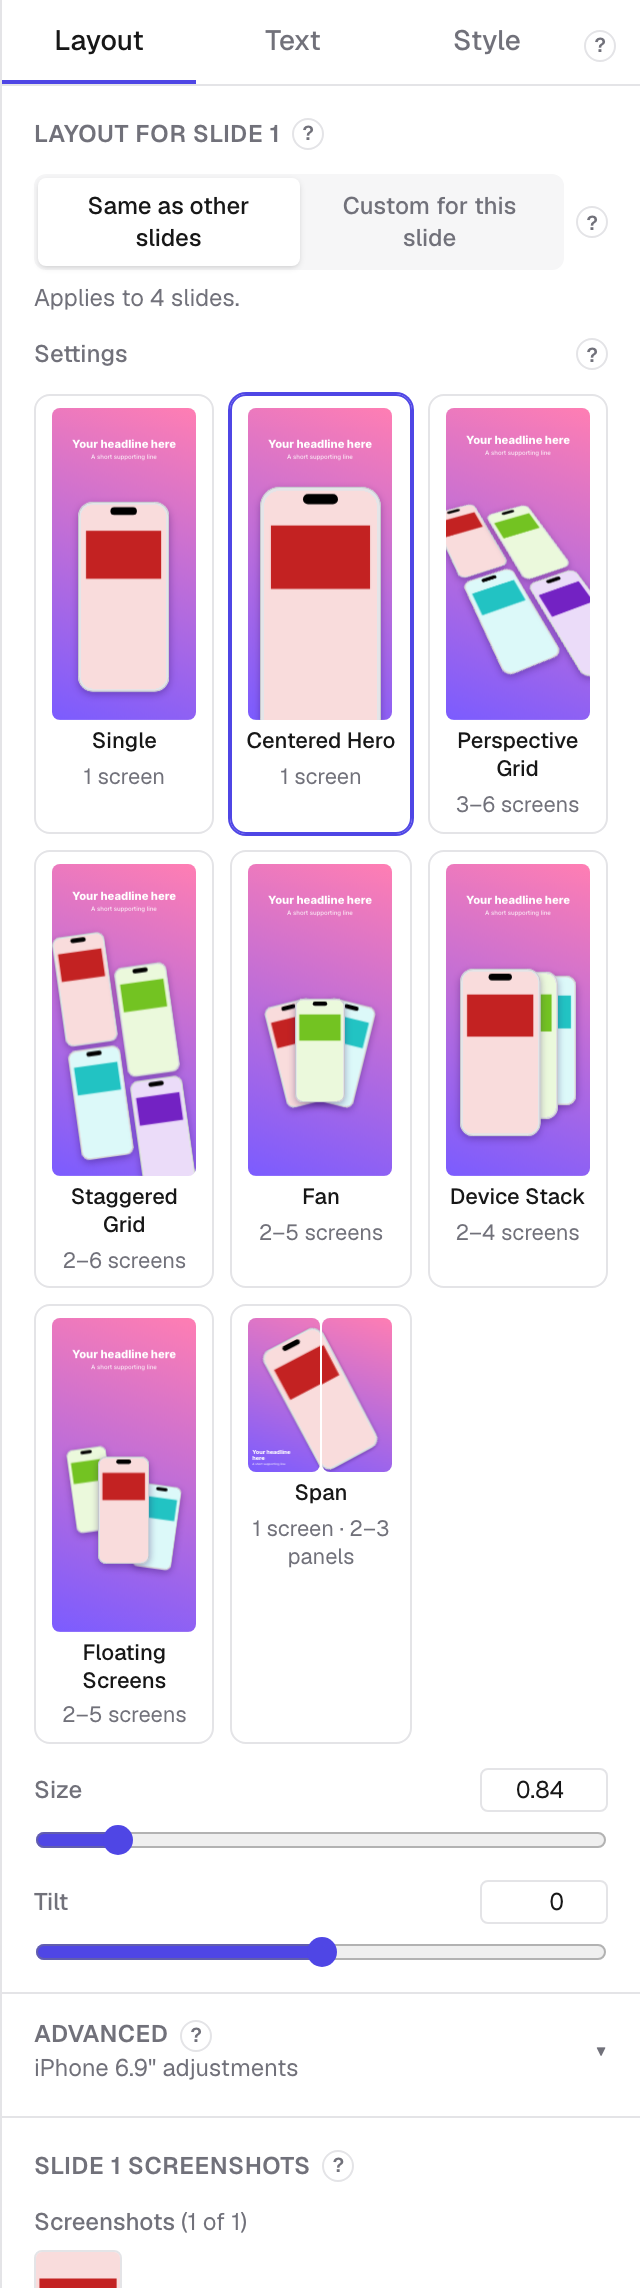
The panel on the right has three tabs. Layout is where the phone goes. Text is what it says. Style is how it looks: colours, background and fonts.
Same as other slides, or custom
At the top of the Layout, Text and Style tabs is a pair of buttons. Slides share one layout, one look and one text style. That is what makes a set look like a set, and it means one change updates every slide.
Switch a slide to Custom for this slide when it needs to differ. From then on it keeps its own settings, and changes to the shared ones leave it alone.
Going back to shared throws away that slide's own settings, so the app asks first.
The sliders
Each layout and each look brings its own settings: size, spacing, angle, colours. Drag the slider, or click the number and type an exact value.
Settings belong to the layout, so changing layout gives you a different set.
Which screens a slide shows
Near the bottom of the Layout tab is the row of screens this slide uses. Layouts that show several screens show them all here, in the order they appear.
- Click a screen to swap it for another from your library.
- Drag them to change the order.
- Hover one and click the cross to take it off this slide.
- Click the plus to add one.
Taking a screen off a slide does not delete it. It stays in your library, ready for another slide.
The look
The Style tab holds a set of looks. Each one sets the background and the text colours. Click one to try it: the picture updates as you go.
Under the looks are its own settings. A plain look has one colour to set; a gradient has two; and one look uses a picture of your own as the background.
Like layouts, the look is shared by every slide, so your set stays consistent. Use Custom for this slide if one slide needs to stand apart.
Fonts and text size
Each look comes with a font. To change it, open Advanced in the Text tab. You can set the font, how heavy it is, its size, where it sits, and the space between the two lines.
Fonts come from Google Fonts, and only the weights a font really has are offered. Your text is measured with the font loaded, so what you see is what exports.
Advanced
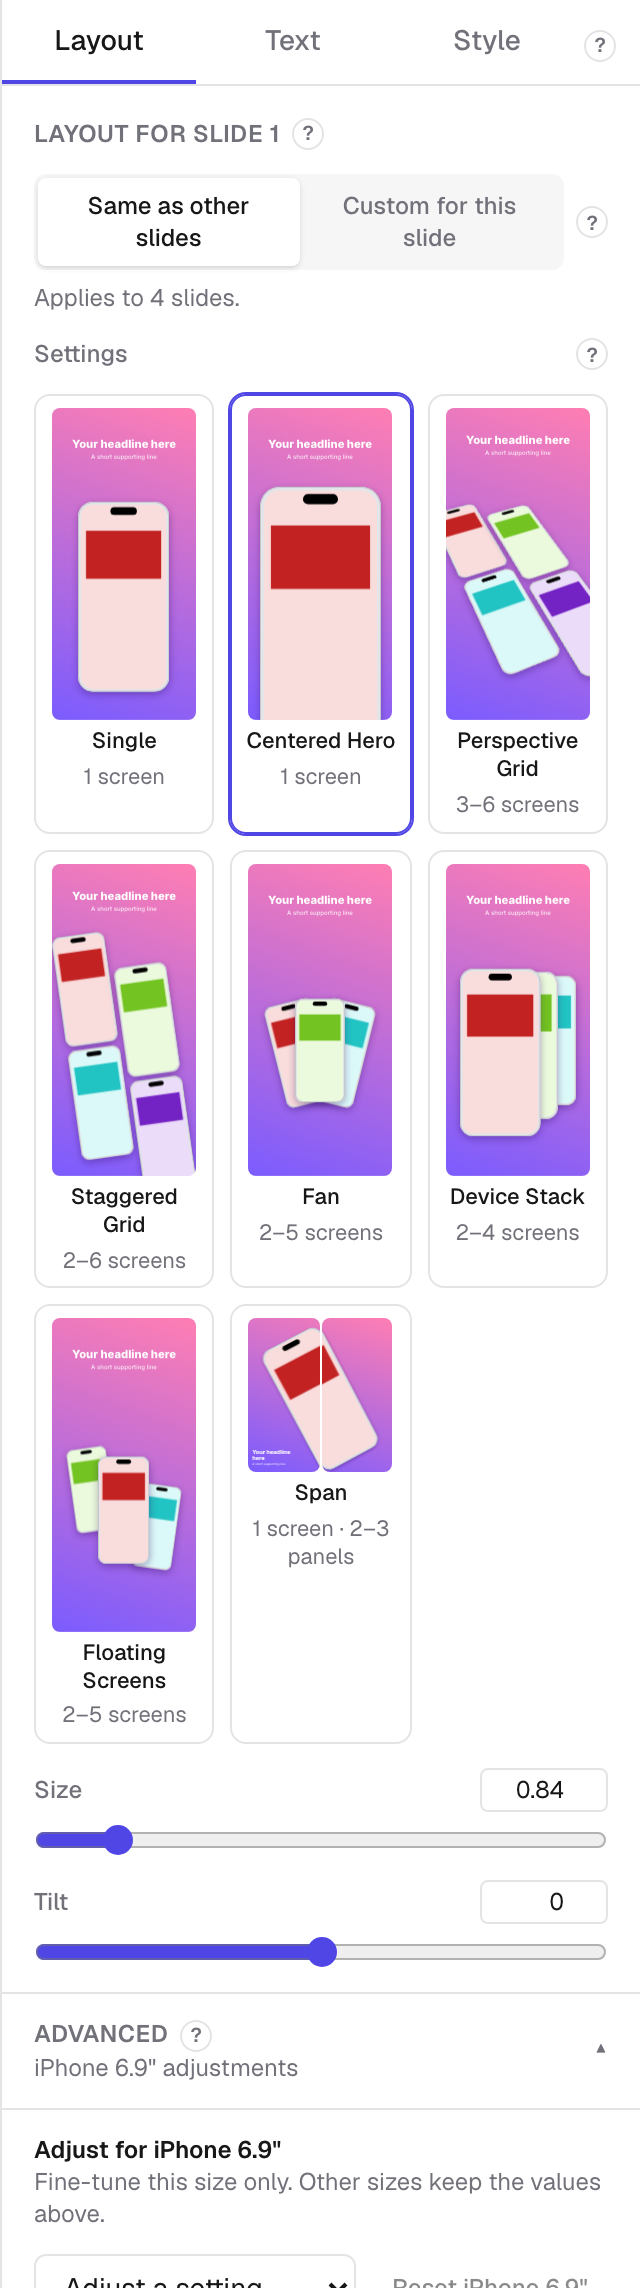
At the bottom of the Layout tab, Advanced holds the settings most people never need: turning the phone in space, leaning it back, and nudging it off the edge of the picture.
These also have handles on the picture itself, which is usually quicker. The sliders are for when you want an exact number, or the same number on two slides.
Adjusting one size only
A phone picture and a tablet picture are different shapes, so a layout that fits one can sit badly on the other.
Under Advanced, the settings for the size you are looking at can be changed on their own. Other sizes keep the shared value. The app marks anything you have adjusted, and Reset puts the size back to shared.
Make your screenshots now — it runs in your browser, and your images stay on your computer.